Generic OIDC
Single Sign On with any OpenID Connect provider
When to use this provider
Dot ships with dedicated tiles for the SSO providers most customers use — Azure Active Directory, Okta, and Google. If your identity provider isn't one of those — e.g. an in-house IdP, Auth0, Keycloak, Ping Identity, OneLogin, or JumpCloud — use the Generic OIDC tile instead. It speaks the same standard — OpenID Connect — and works with any IdP that publishes a discovery document.
If you're using one of the named providers, follow the dedicated guide instead — those use the same plumbing under the hood, but with the IdP-specific URL prefilled and a fixed button label.
What you'll need from your IdP
Before opening the Dot admin panel, have these three values ready from your IdP:
Client ID — issued when you register Dot as an OAuth/OIDC application
Client Secret — issued alongside the Client ID; treat it like a password
Metadata URL — also called the OpenID configuration URL or discovery URL. Always ends in
/.well-known/openid-configuration. Examples:Auth0:
https://{your-tenant}.auth0.com/.well-known/openid-configurationKeycloak:
https://{host}/realms/{realm}/.well-known/openid-configurationIn-house / other: ask your IdP team for the discovery URL
The metadata URL is what makes this generic — Dot fetches the IdP's signing keys, authorization endpoint, and token endpoint from that one URL, so you don't have to enter them by hand.
Step 1: Open the Generic OIDC tile in Dot
Sign in to Dot as an admin.
Open Settings → Connections → Authentication.
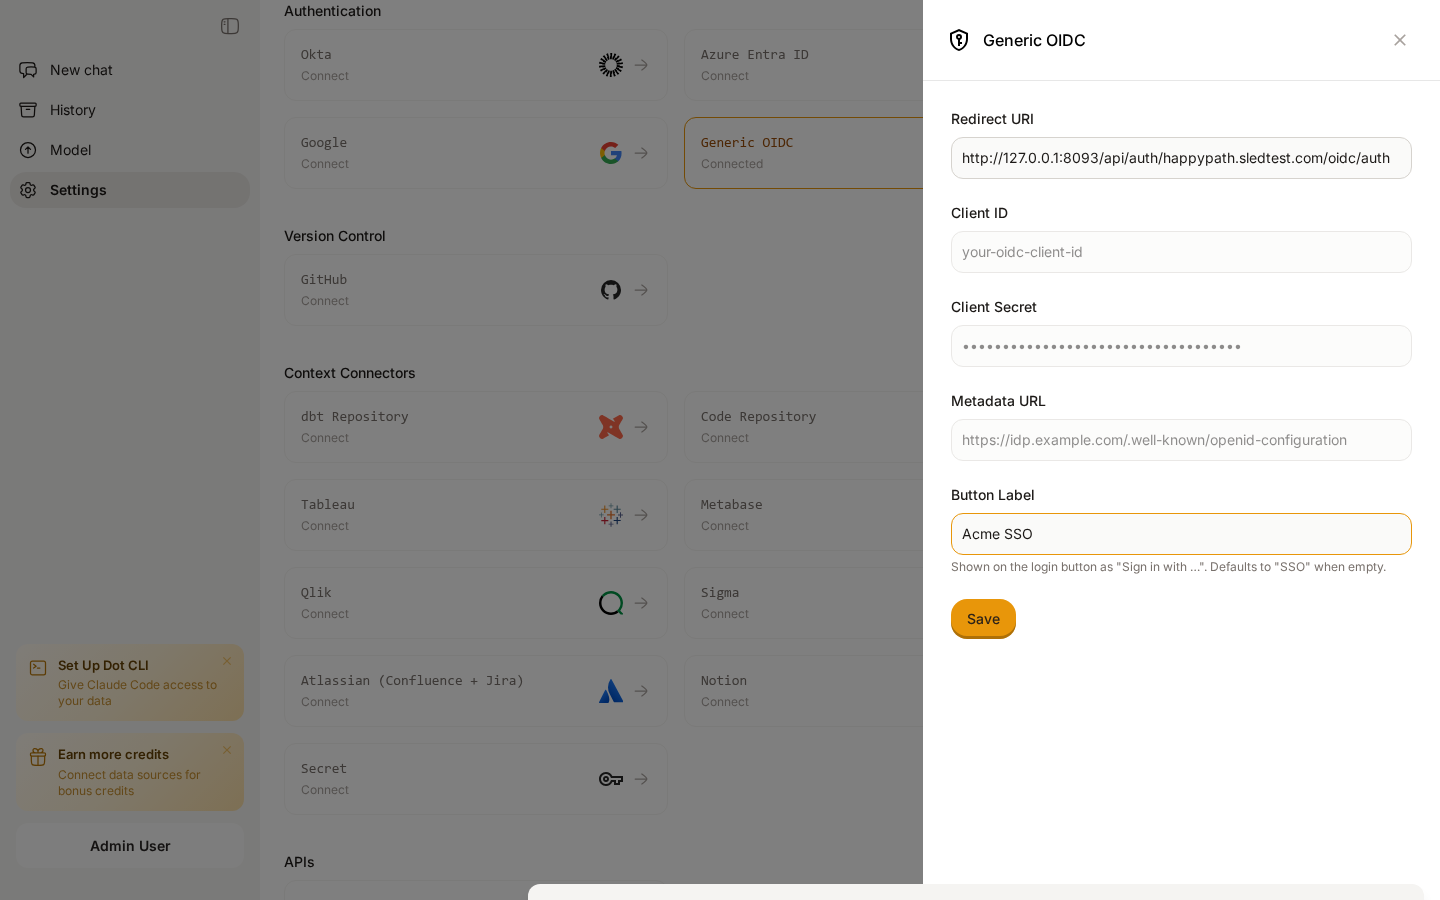
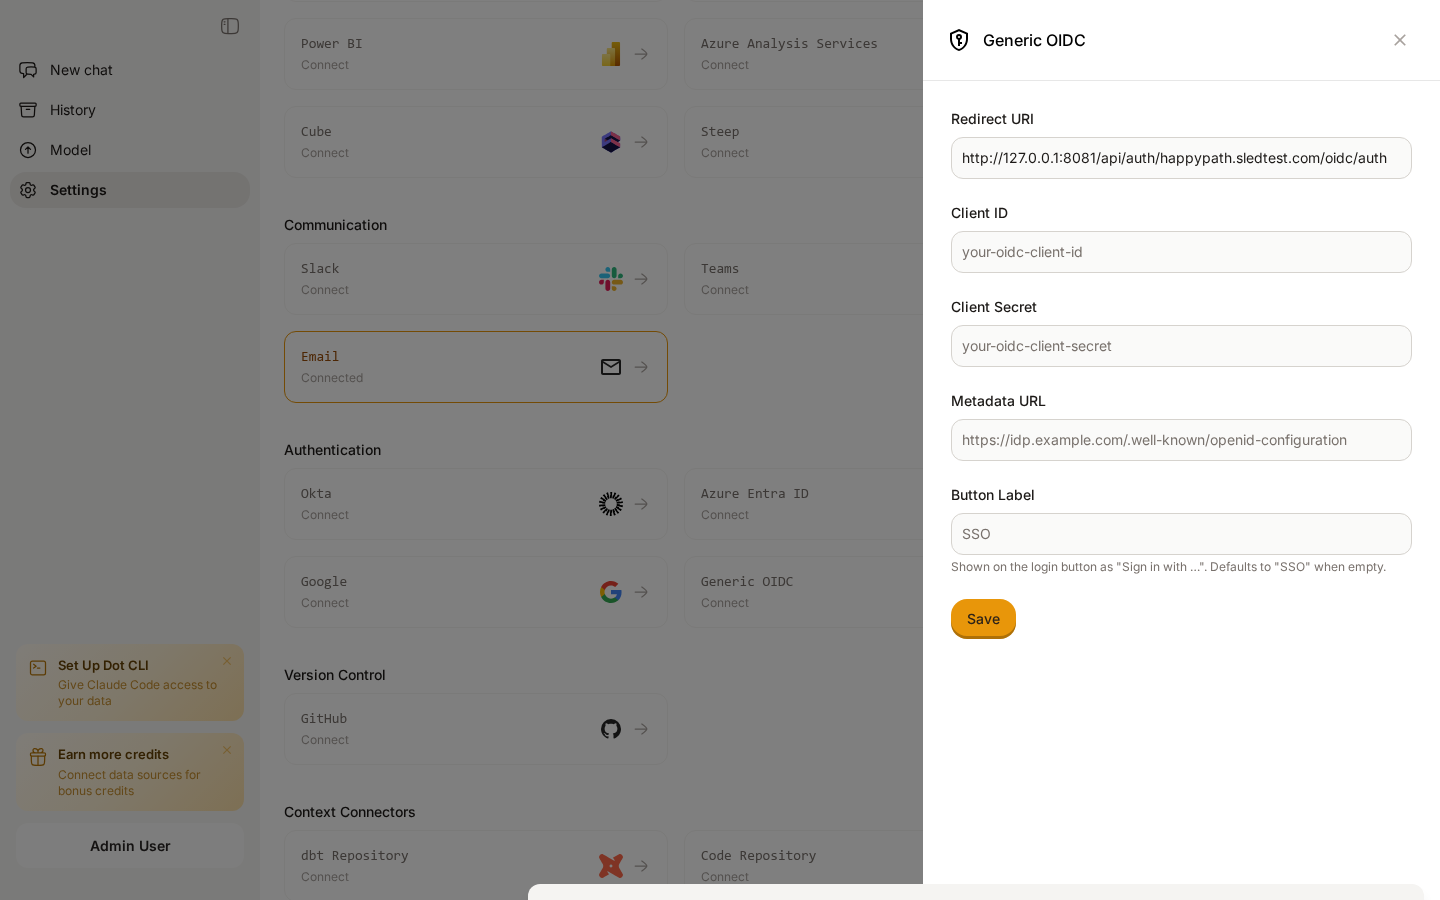
Click the Generic OIDC card.

Step 2: Copy Dot's Redirect URI into your IdP
The first field in the form is a read-only Redirect URI that looks like:
In your IdP, register a new OAuth/OIDC application (sometimes called a "client" or "relying party") and paste this exact URL into the Redirect URI / Callback URL field. Most IdPs require this to match character-for-character — including the trailing path — or the login will fail with a redirect mismatch error.
If your IdP asks for the OAuth grant type, choose Authorization Code (with PKCE if offered). Dot doesn't use implicit or password grants.
Step 3: Fill in the form in Dot
Back in the Dot admin form, fill in the remaining fields:
Client ID — paste from your IdP
Client Secret — paste from your IdP
Metadata URL — the
/.well-known/openid-configurationURLButton Label (optional) — what gets displayed on the login page. For example, set this to
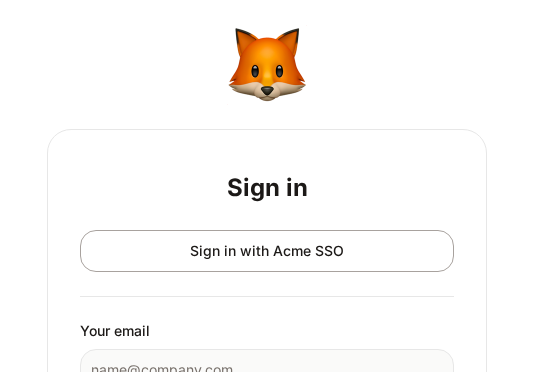
Acme SSOto render a button labelled Sign in with Acme SSO. Leave empty to fall back to the generic label Sign in with SSO.

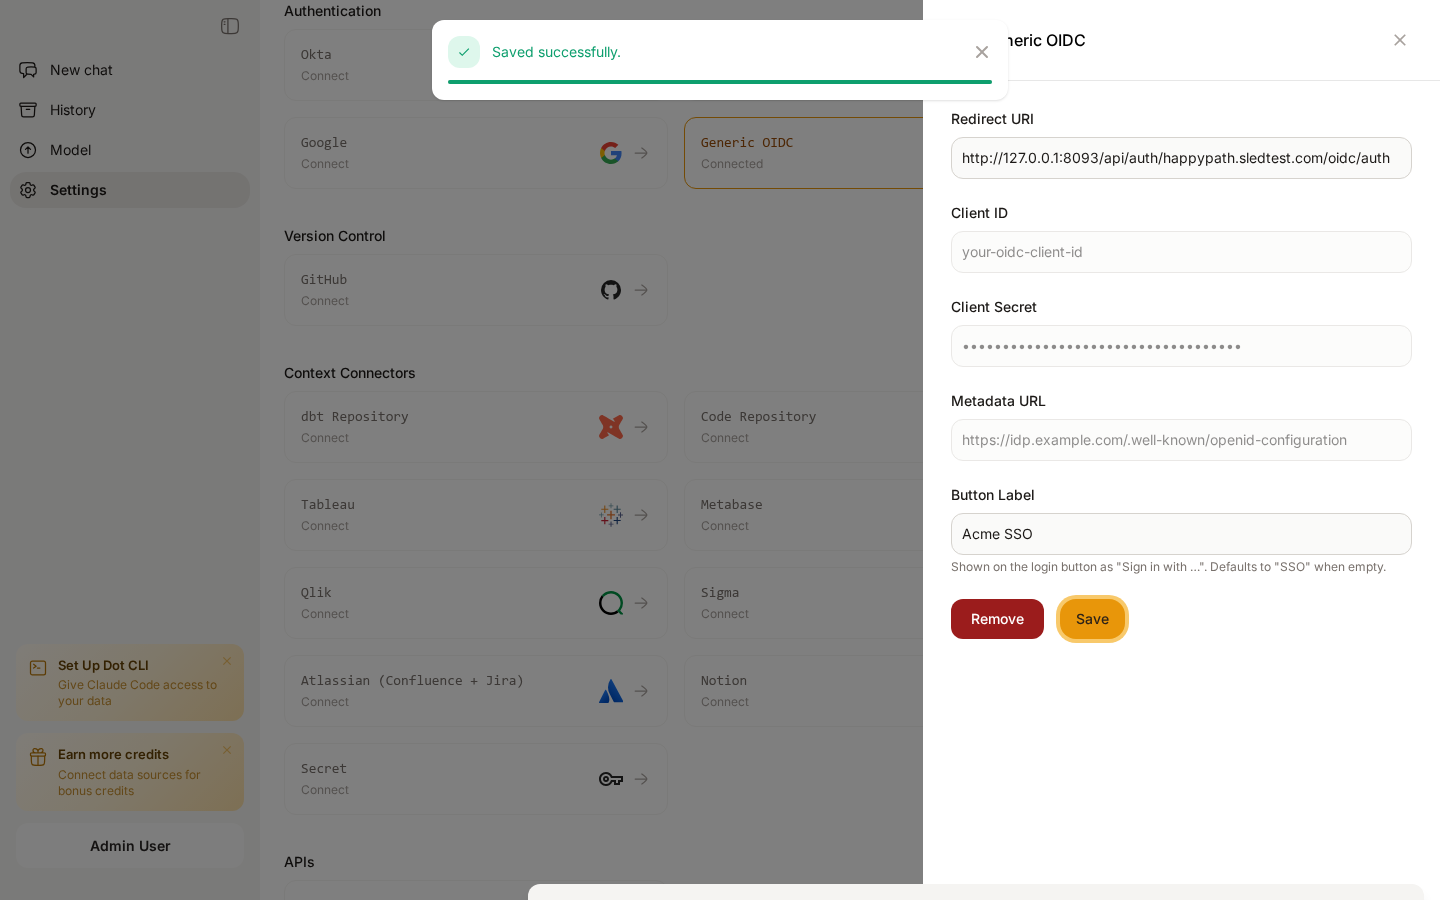
Acme SSOClick Save. After saving, the tile flips to Connected, the secret is masked, and the Remove button appears next to Save so you can disable the integration later.

Step 4: Verify the login button
Sign out of Dot, then open the login page for your organization. You should see your Sign in with {Button Label} button next to the email/password form.

Click it once to verify the round-trip: Dot redirects you to your IdP, you authenticate, the IdP redirects back to Dot, and you land in the app signed in.
How user provisioning works
The first time a user signs in via Generic OIDC, Dot reads the email claim from the IdP's ID token and auto-provisions a new account if one doesn't already exist for your organization. Subsequent sign-ins from the same email reuse the same Dot user. New users are created with the default Viewer role — promote them to Editor or Admin from the Users tab as needed.
Make sure your IdP releases the email and (ideally) name claims to Dot. Most IdPs include both in the default profile scope; if yours doesn't, add email profile to the requested scopes on the application you registered in step 2.
Troubleshooting
"redirect_uri mismatch" — the URL in your IdP's allowed callback list doesn't exactly match the Redirect URI shown in Dot. Re-copy it; watch for a missing trailing path or a leading
https://typo.Login button doesn't appear — make sure all three required fields (Client ID, Client Secret, Metadata URL) are saved. The button is gated on a successful save, not just on form input.
"invalid_client" — the Client Secret is wrong or has been rotated in the IdP. Generate a new secret and re-save it in Dot.
Metadata URL fetch fails — verify the URL works in a browser and returns a JSON document with
authorization_endpoint,token_endpoint, andjwks_urifields. If your IdP is on a private network, Dot's servers won't be able to reach it; expose the discovery endpoint publicly or use a named provider.
Removing the integration
To stop accepting Generic OIDC sign-ins, click Remove on the tile. The button disappears from the login page immediately. Existing users provisioned via OIDC are kept and can still be reached if you re-enable any SSO provider — they aren't deleted with the integration.
Last updated